Beginning Henna
I’ve been using henna for years. I even ventured off into commercial hair dyes which worked for a while but eventually irritated my scalp! However, several months ago I decided to give henna another try. Most of all, henna have wonderful benefits for hair health. You can learn more about it here.
In the past, after applying henna to my hair it always felt dry. I was consistently on a down hill battle with moisture, length retention and henna. Now I am going to change things up a bit. This time my focus is strictly on moisture when using henna. Especially since hennas strengthening power can stiffen the elasticity of hair and leave it feeling dry. From now on, I will be documenting my hair progress.
The Start Of My Henna Application
I applied henna to my hair Sunday, November 12, 2017. Before the application process I prepared the henna by mixing it with coconut milk. I was experimenting with it to see if there will be any dye released from the henna. This is important to me since the front of my hair is graying. Then to my surprise, there was dye release. I immediately took what I needed then froze the rest for latter use.
The Results Of The Henna Application.
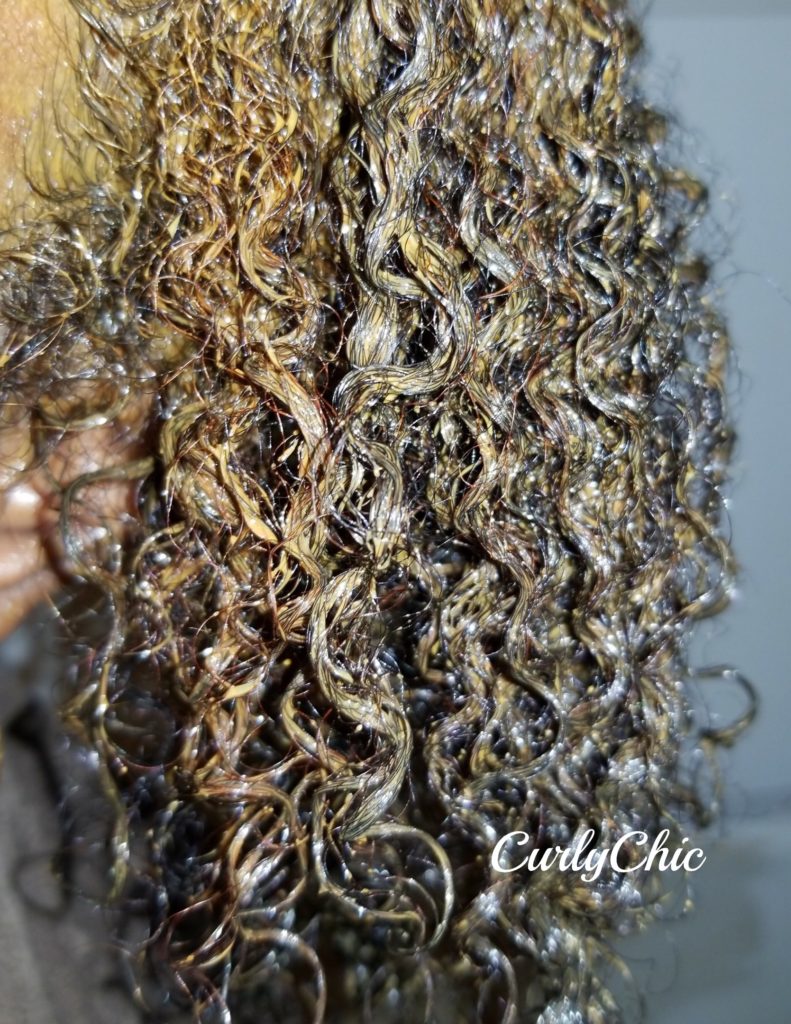
Henna mixed with coconut milk makes the application process so much easier! Also, the henna dye did a great job coloring the grey hairs! Most noteworthy, my hair felt soft to the touch when rinsing the henna from my hair!
The disappointment is my hair is not quite as smooth as before. But, it did retain some moisture. See the before henna pictures here.
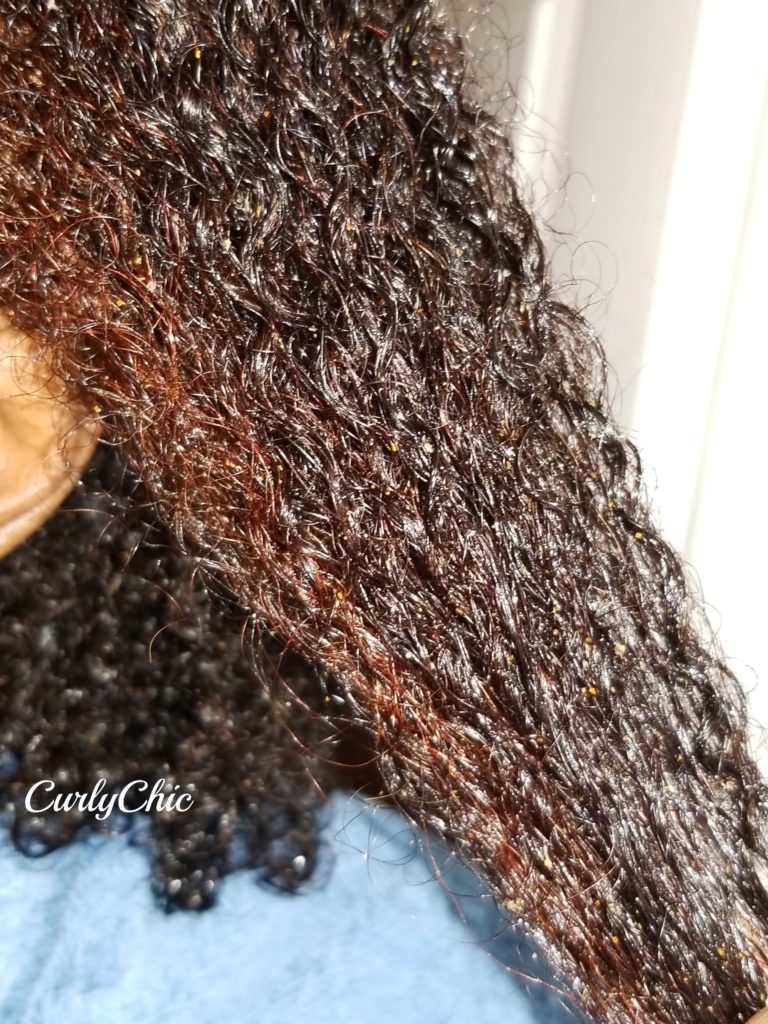
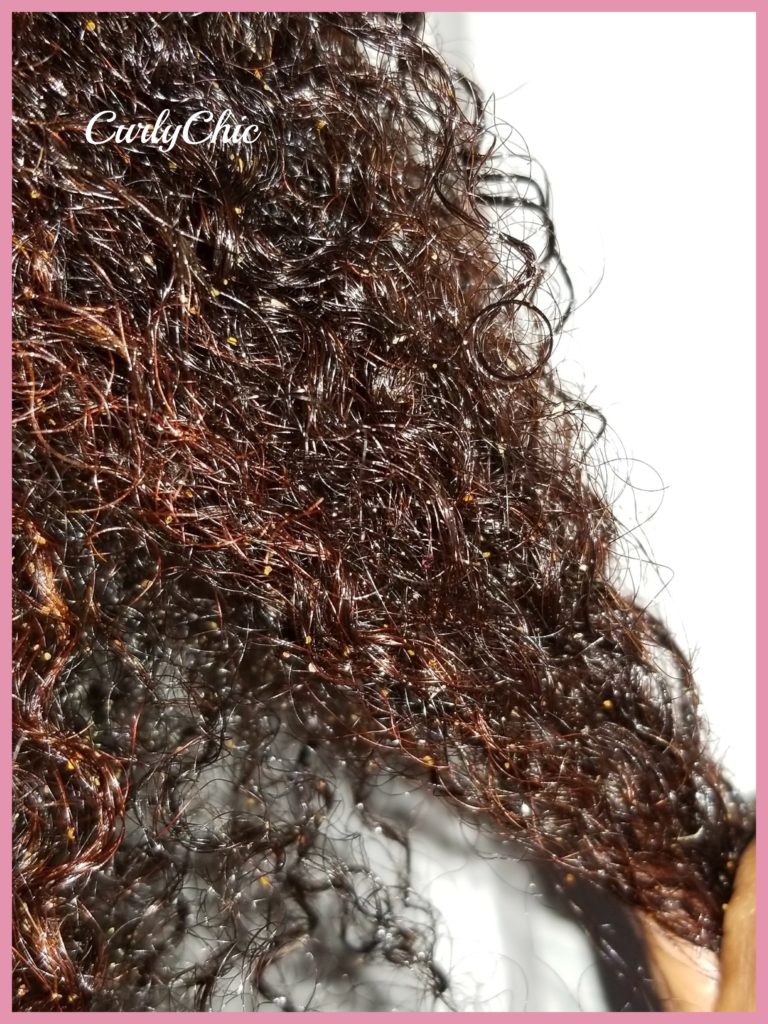
Here Is Another Hair Texture Picture. The red color is intense!
I added ground paprika to ensure a deeper red color. As you can see the paprika did not completely rise out. I only rinse my hair once prior to taking these pictures. Rinsing my hair two more times removed all traces of the herb.. Next time I will grind it in a food processor to make sure the paprika is in a fine powered form. You can buy paprika wholesale here.
My Henna Mix For Grey Hair Coverage or Intense Red Highlights
Supplies Needed
Henna
Can Coconut Milk
Measure the amount of henna needed according to your hair length. Then mix in the coconut milk until it reaches mash potato consistency. Let sit for 8 to 12 hours for full dye release. Freeze unused portion until later use. Next, divide the hair into sections then apply the henna mix throughout the hair. Let sit for 4 to 8 hours then thoroughly rise. The longer the henna sits the better the grey coverage or more intense the color.
1 can of coconut milk will be enough for 200 grams of henna.
The approximate amount of henna needed
100g will dye short hair or cover one month’s growth of roots.
200g will dye collar length hair.
300g will dye shoulder length hair.
500g will dye waist length hair.
Henna Treatment For Strengthening and Moisture
- 1 ounces of henna
- 1/2 cup Protein Free Conditioner
- 1 tbsp Agave Nectar or Honey
Mix all three ingredients then apply to throughout hair. Then cover your hair with a plastic cap, apply heat ( hooded hair dryer, hair steamer, etc) to the hair for a minimum of 30 minutes. Rinse then style.
The above recipes are simple and are my go to staples for strengthening my hair.
Enjoy!
Until My Next Henna Post
Stay Tuned
Ellisha
XOXO
You may also like:


3 Comments